
Do you want a dessert that is both fancy and comforting? Try this Pakistani Rice Kheer recipe – a smooth, fragrant treat made with rice, milk, and a touch of cardamom, offering a sweet delight in every bite.
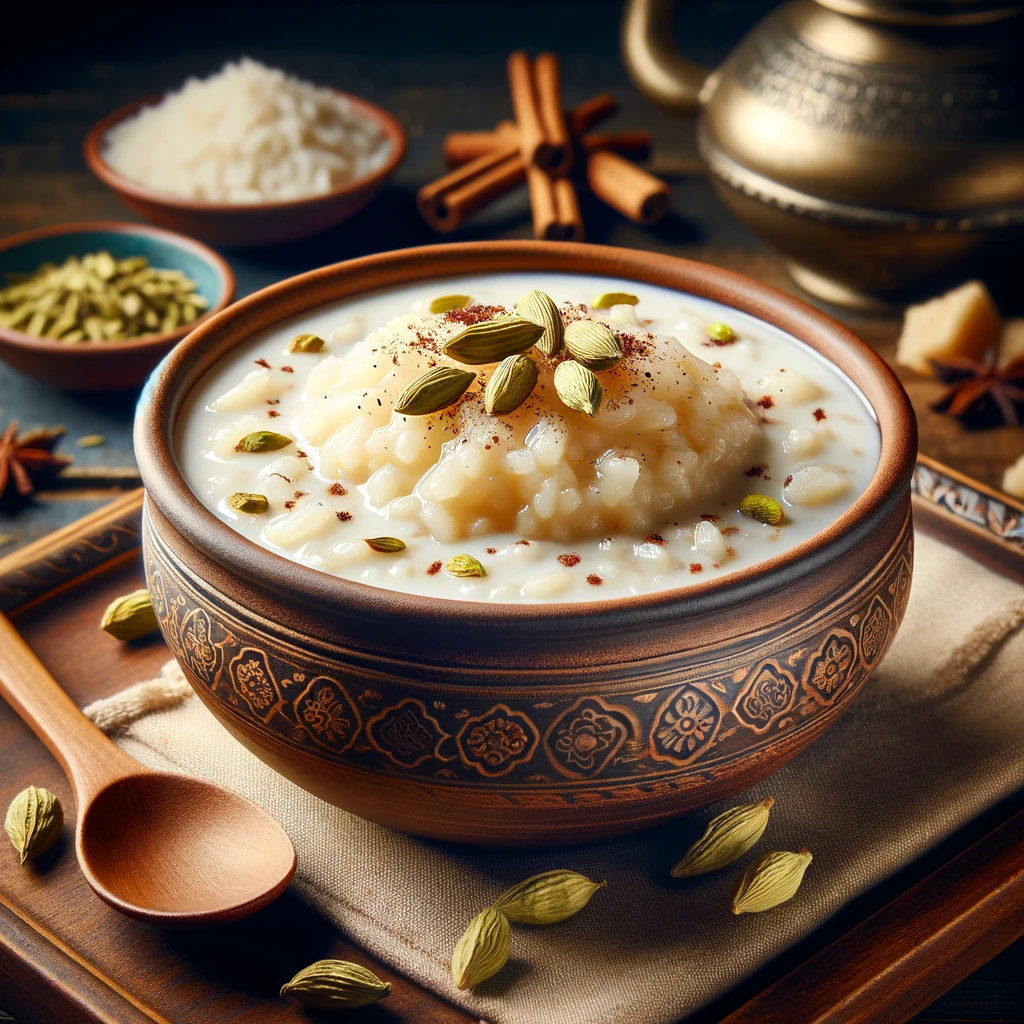
Rice Kheer is essentially a kind of pudding, and it’s a wonderful experience if you’ve never had it before. At its core, this recipe uses simple ingredients, mainly rice and milk. When these are cooked together, the rice gets very soft, and the milk becomes thick and creamy. To make it extra special, I add a bit of cardamom, which brings a lovely aromatic taste. Picture a bowl of this Kheer, it’s creamy, filled with rice grains, and sometimes topped with golden raisins or nuts. It feels like comfort in a dish, truly warm and fulfilling.
This dessert is not just a treat to your taste buds but also a glimpse into Pakistani culinary tradition, offering a moment of indulgence that’s both simple and sophisticated.
Ingredients used in rice kheer recipe
To cook this delightful Rice Kheer recipe, you need the following ingredients:
- Rice: 1/4 cup, basmati or any long grain rice works best, giving our kheer its signature texture.
- Milk: 1 liter, full-fat for that rich and creamy consistency.
- Sugar: 1/2 cup, to sweeten our dish just right.
- Cardamom Powder: 1/2 teaspoon, for that aromatic flavor we all love.
- Saffron: A few strands, for a touch of luxury and color.
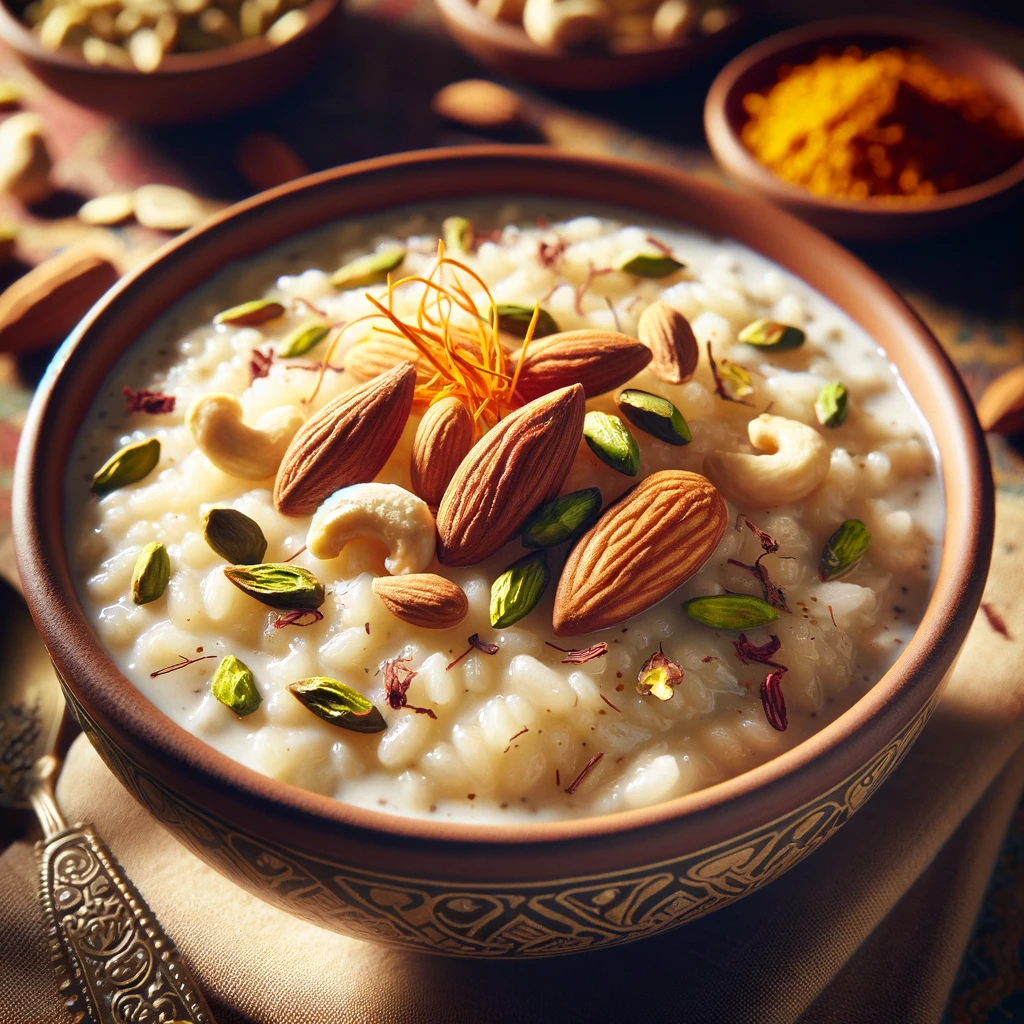
- Mixed Nuts: 1/4 cup, chopped. Almonds, pistachios, and cashews bring in crunch and nuttiness.
- Raisins: 2 tablespoons, for a burst of sweetness.
Cooking Tools required for rice kheer recipe
These are the cooking tools you need to bring this delicious rice kheer recipe to your kitchen:
- Heavy-Bottomed Pan: Essential for slow-cooking the kheer. It helps prevent the milk from burning as it thickens.
- Wooden Spoon: Ideal for stirring. It ensures our kheer cooks evenly without sticking to the bottom.
- Measuring Cups and Spoons: Accuracy matters in recipes like this, so these will help you measure everything perfectly.
How to make rice kheer recipe: Step by step process;
Ready to whip up some delicious Rice Kheer? Follow these steps, and you’ll be enjoying this creamy dessert in no time:
- Rinse the Rice: Start by thoroughly rinsing 1/4 cup of rice under cold water until the water runs clear. This removes excess starch and prevents the kheer from becoming too thick too quickly.
- Soak the Rice: Soak the rinsed rice in water for about 30 minutes. Soaking helps the rice cook faster and absorb the flavors better.
- Boil the Milk: In a heavy-bottomed pan, bring 1 liter of full-fat milk to a boil. A slow boil under medium heat is crucial to achieve the right consistency.
- Add the Rice: Drain the rice and add it to the boiling milk, stirring continuously to prevent it from sticking to the bottom of the pan.
- Simmer: Reduce the heat to low and let the mixture simmer. Keep stirring occasionally, allowing the rice to cook and the milk to thicken. This process should take about 20-25 minutes.
- Add Flavor: Once the rice is cooked and the milk has thickened, stir in 1/2 cup of sugar, 1/2 teaspoon of cardamom powder, and a few strands of saffron. These add the signature flavor and aroma to your kheer.
- Garnish: Add the chopped mixed nuts and raisins, and simmer for another 5 minutes. The nuts add a lovely texture and richness to the kheer.
- Cool and Serve: Finally, allow the kheer to cool slightly. It can be served either warm or chilled, garnished with a few more nuts and a sprinkle of cardamom powder for extra flavor.
Expert Tip
It’s important to stir your kheer regularly to prevent it from sticking to the pan, there’s an art to it. Initially, stir frequently to ensure even cooking. However, as the kheer starts to thicken, reduce your stirring. This allows the milk to develop a ‘malai’ (cream) layer, which when mixed back into the kheer, gives it a richer, creamier texture. Additionally, intermittent stirring helps in achieving that perfect, velvety consistency without making the kheer too dense or the rice mushy. This technique solves the common problem of kheer that’s either too thin, lacking in richness, or where the rice is overcooked. By mastering the balance in stirring, you ensure your kheer has the ideal texture and depth of flavor, making it a truly authentic and memorable dessert.
Serving Tips
Pairing the perfect accompaniments with Rice Kheer turn a simple dessert into a feast for the senses:
- Masala Chai: A cup of spicy, aromatic masala chai alongside the kheer balances its sweetness and adds warmth.
- Fresh Fruit: Slices of mango or a handful of berries offer a fresh, tangy counterpoint to the rich kheer.
- Samosas: For a savory contrast, crispy samosas can be a surprising but delightful pairing.
- Gulab Jamun: For those with an extra sweet tooth, pairing kheer with warm gulab jamun creates a decadent dessert duo.
Check more desserts recipes
Besan ke Ladoo Recipe
Gulab Jamun Recipe
Masala Chai Ice Cream Recipe
Ras Gullay Recipe
Jalebi Recipe
Storage Instructions
Ensuring your Rice Kheer remains delicious even after a day or two is simple if you follow these steps:
To Store:
Allow the kheer to cool to room temperature. Then, transfer it into an airtight container and refrigerate. Properly stored, kheer can last up to 5 days in the fridge, retaining its taste and freshness.
To Reheat:
When you’re ready to enjoy your kheer again, gently reheat it on the stove over low heat, adding a little milk if necessary to loosen it up. This will help restore its creamy consistency without overcooking the rice. Avoid microwaving as it can heat unevenly and affect the texture.
Conclusion
Creating the perfect Rice Kheer is more than just following a recipe; it’s about bringing a touch of sweetness and tradition to your table. With its creamy texture, aromatic flavors, and the joy of garnishing with your favorite nuts and spices, this dish is a celebration of simplicity and taste. Whether you’re enjoying it as a dessert after a hearty meal or as a comforting snack on a lazy afternoon, Rice Kheer promises to be a delightful experience every time.
Did you add a personal twist to it? How did it turn out? Share your stories and photos with me, and let’s spread the joy of cooking this timeless dessert.
Frequently asked questions
What is rice kheer made of?
Rice Kheer is made from a simple yet delightful combination of rice, milk, sugar, and cardamom. Often, it’s enriched with nuts, saffron, and dried fruits for extra flavor and texture.
Is kheer healthy or junk?
Whether Kheer is healthy or not depends on its ingredients and portion size. Traditionally, it’s a high-calorie dessert due to the use of whole milk and sugar. However, with adjustments, such as using low-fat milk and less sugar, it can be made healthier.
What do we call kheer in English?
In English, Kheer is often referred to as “rice pudding.” This name captures its creamy texture and main ingredient, rice, making it easily recognizable in many cultures.
Is kheer better hot or cold?
The preference for eating Kheer hot or cold varies by individual taste. It can be deliciously comforting when served warm, especially during colder months, and equally refreshing when served cold, making it a versatile dessert for any season.
Rice Kheer Recipe: A Classic Creamy Dessert Delight
Ingredients
- Rice: 1/4 cup basmati or any long grain rice works best, giving our kheer its signature texture.
- Milk: 1 liter full-fat for that rich and creamy consistency.
- Sugar: 1/2 cup to sweeten our dish just right.
- Cardamom Powder: 1/2 teaspoon for that aromatic flavor we all love.
- Saffron: A few strands for a touch of luxury and color.
- Mixed Nuts: 1/4 cup chopped. Almonds, pistachios, and cashews bring in crunch and nuttiness.
- Raisins: 2 tablespoons for a burst of sweetness.
Instructions
- Rinse the Rice: Start by thoroughly rinsing 1/4 cup of rice under cold water until the water runs clear. This removes excess starch and prevents the kheer from becoming too thick too quickly.
- Soak the Rice: Soak the rinsed rice in water for about 30 minutes. Soaking helps the rice cook faster and absorb the flavors better.
- Boil the Milk: In a heavy-bottomed pan, bring 1 liter of full-fat milk to a boil. A slow boil under medium heat is crucial to achieve the right consistency.
- Add the Rice: Drain the rice and add it to the boiling milk, stirring continuously to prevent it from sticking to the bottom of the pan.
- Simmer: Reduce the heat to low and let the mixture simmer. Keep stirring occasionally, allowing the rice to cook and the milk to thicken. This process should take about 20-25 minutes.
- Add Flavor: Once the rice is cooked and the milk has thickened, stir in 1/2 cup of sugar, 1/2 teaspoon of cardamom powder, and a few strands of saffron. These add the signature flavor and aroma to your kheer.
- Garnish: Add the chopped mixed nuts and raisins, and simmer for another 5 minutes. The nuts add a lovely texture and richness to the kheer.
- Cool and Serve: Finally, allow the kheer to cool slightly. It can be served either warm or chilled, garnished with a few more nuts and a sprinkle of cardamom powder for extra flavor.
Notes

Aleezay Khan
I am Aleezay Khan, I enjoy experimenting with flavors, giving traditional Pakistani dishes a modern twist. Join me on a tasty journey where classic meets contemporary, creating unforgettable food adventures.